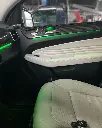
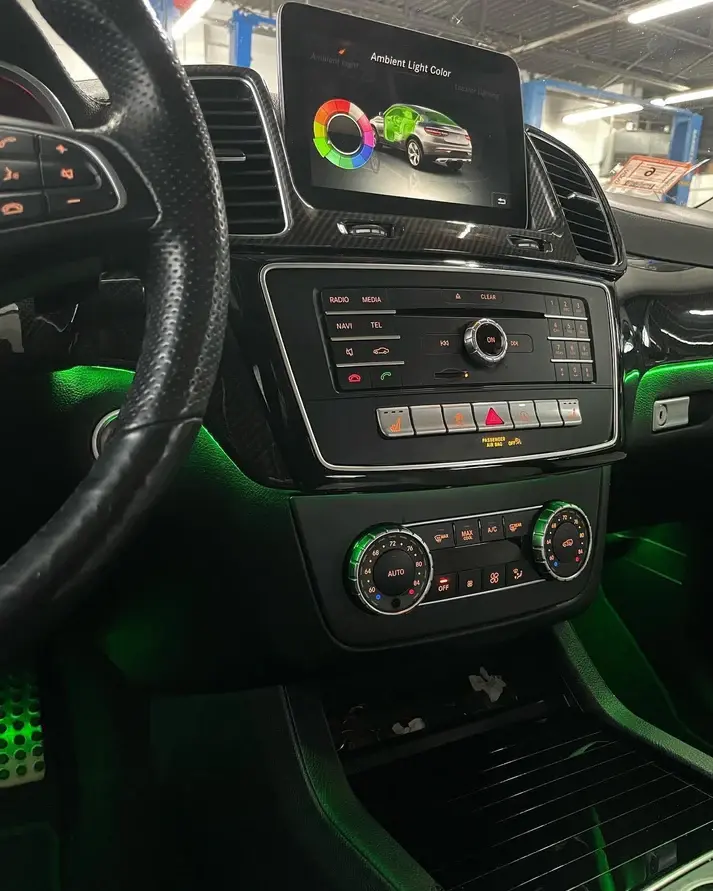
Mercedes Benz ML GL Class 2013+ Ambient Lights
To install ambient lighting on a 2016 Mercedes-Benz GLE class with original control, you'll need to follow these steps:
- Gather the required materials: You will need an ambient lighting kit compatible with your 2016 Mercedes-Benz GLE class, a set of basic hand tools (screwdrivers, wrenches, etc.), wire strippers, crimp connectors, zip ties, and a multimeter.
- Disconnect the battery: Before beginning any electrical work on your vehicle, it's important to disconnect the negative terminal of the battery to avoid short circuits and potential damage to the electrical system.
- Determine the location for the ambient lighting: Decide where you want to install the LED light strips. Common locations include under the dashboard, along the door panels, and around the center console. It's crucial to ensure the chosen locations do not interfere with any moving parts or obstruct your view while driving.
- Install the LED light strips: Clean the chosen surfaces with rubbing alcohol and let them dry. Then, peel off the adhesive backing on the LED light strips and carefully stick them to the desired locations. Make sure the strips are secure and not hanging loose.
- Route the wiring: Neatly route the wiring from the LED light strips to the area where you plan to connect them to the car's electrical system. Use zip ties to secure the wiring along the way, ensuring it's not obstructing any moving parts or creating any potential hazards.
- Connect the LED light strips to the car's electrical system: Locate a suitable 12V power source, such as the fuse box or an unused accessory power wire. Use the multimeter to verify the chosen power source has the proper voltage. Connect the positive wire from the LED light strips to the chosen power source using a crimp connector. Then, connect the negative wire to a suitable ground point, such as a bolt connected to the vehicle's chassis.
- Install the original control switch: Find a suitable location for the control switch, ensuring it's easily accessible to the driver. Depending on the type of control switch, you may need to drill a hole or use an existing opening in the dashboard or center console. Route the wiring from the control switch to the LED light strips and connect them according to the manufacturer's instructions.
- Test the ambient lighting: Reconnect the battery and start the vehicle. Test the ambient lighting to ensure it functions correctly, adjusting the brightness and color settings as desired.
- Reassemble the vehicle interior: Once you're satisfied with the functionality of the ambient lighting, carefully reassemble any parts of the vehicle interior that were removed or disassembled during the installation process.
Remember, working with electrical systems can be dangerous if you're not experienced or confident in your abilities. If you're unsure about any aspect of the installation, it's recommended to consult a professional or an experienced friend for assistance.


